Heat pumps deliver warmth at just 95-113°F versus furnaces’ blazing 140-167°F, making your home’s insulation quality suddenly matter. Most houses leak heat through unexpected places—a quarter vanishes through roofs alone—turning this gentler heating method into either brilliant efficiency or endless frustration.
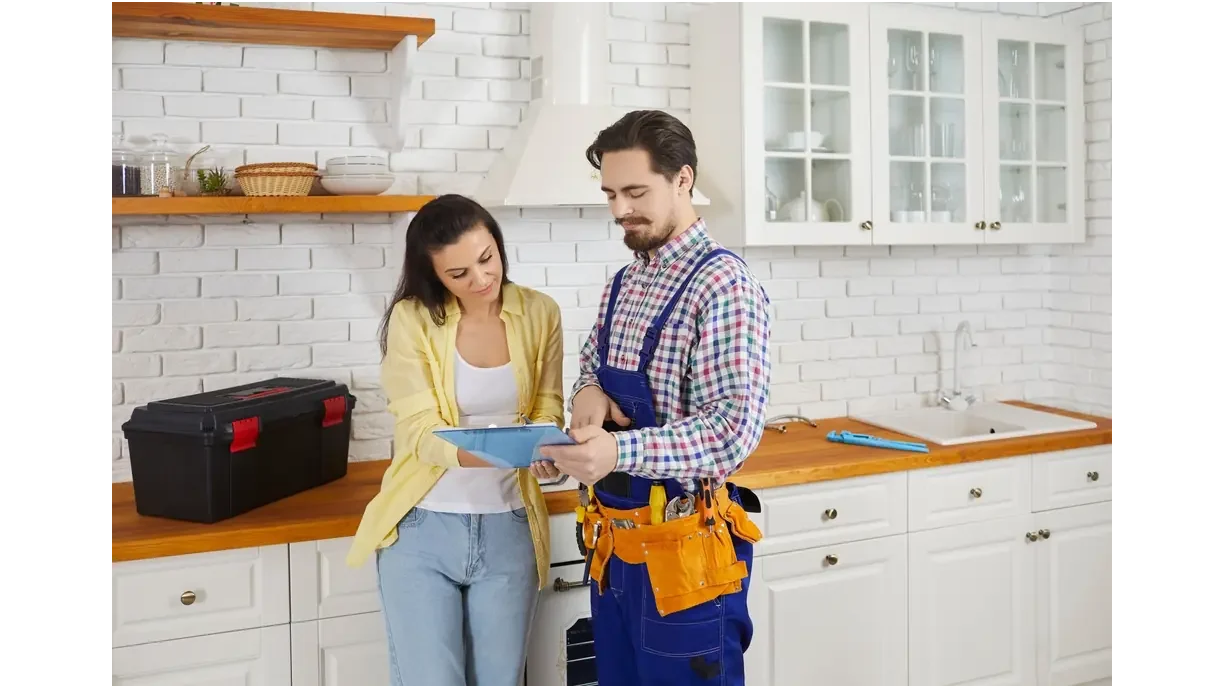
The first step in planning your home’s first heat pump installation is realizing your house needs specific upgrades before professional heating contractors even arrive with equipment. Here's what the experts at Elite Air & Heat, LLC say your house needs before installation day and how to tell if your property works for this heating technology.
Heat pumps move heat instead of creating it through burning fuel like traditional furnaces do in most homes. These systems deliver warmth at lower temperatures, around 95 to 113 degrees Fahrenheit, compared to gas furnaces pushing 140 to 167 degrees. Your house needs solid insulation to keep that gentler warmth inside, or the system runs nonstop without reaching comfortable temperatures.
Houses built after the 1990s usually include enough insulation throughout walls and attics, along with double-pane windows already there. Properties from the late 1970s through early 1990s often have thin attic insulation and single-pane glass, letting heat escape quickly. Older homes from before the 1930s typically feature solid walls without insulation barriers and single glazing, allowing major temperature losses.
Your outdoor space matters since air source heat pumps need exterior placement on level ground or mounted on walls. The unit requires proper clearance for air to flow freely and for technicians to access it for maintenance visits. Wall mounting works when ground space runs tight, but either option needs room for correct installation and future service work.
In addition, understanding your property's heat retention capacity helps determine system requirements before contractors arrive. Roughly one quarter of heat escapes through roofs without insulation, while somewhere between one third and almost half disappears through walls.
Your floors let another tenth vanish, and windows account for nearly one-fifth of total heat loss in typical houses. These figures show why insulation work often happens before the actual heat pump equipment arrives at your door.
Before moving forward with installation, contractors assess your property's heat loss through walls, windows, and doors to determine proper heat pump sizing, ranging from four-kilowatt units for small homes to seventeen-kilowatt systems for larger properties. Room-by-room calculations ensure accurate equipment matching rather than generic estimates.
Your existing radiators may need upgrading to larger models or low-temperature designs with double or triple panels that maximize surface area without consuming extra wall space.
Underfloor heating pairs exceptionally well with heat pumps, offering superior comfort despite higher installation costs. Most homes require new hot water cylinders specifically designed for heat pump systems to efficiently store water at lower temperatures for household use.
Clear both indoor and outdoor installation spots before the crew shows up at your house with their equipment and tools. Move furniture, boxes, and anything blocking where the equipment goes or paths through your home that workers need to access. Create an open workspace, letting the team move around freely with their supplies without bumping into obstacles or struggling through tight spots.
Check your electrical panel to confirm it handles the extra power your new system requires for proper daily operation. Some equipment needs better wiring or special three-phase connections that must happen before installation day rolls around at your property. Your contractor checks these details during planning, but verifying everything yourself beforehand prevents annoying delays and scheduling problems later on.
Look over your ductwork for leaks or blockages that hurt system performance once your new equipment starts running every day. Air needs to travel freely through all vents without furniture or junk creating restrictions that make the unit struggle.
The professional evaluation checklist includes:
The technicians show up with all the tools and equipment needed to finish your installation efficiently without multiple trips back. They secure the outdoor unit on a concrete pad or wall bracket, depending on your yard layout and space. Indoor parts get placed in your attic, basement, or utility closet based on your house design and available locations.
Lines carrying refrigerant and electrical wiring connect both units before the crew links everything to the ductwork when your system uses it. Testing confirms proper refrigerant amounts, checks airflow throughout your house, and sets thermostat controls for best performance results right away. Your technicians walk through system operation and answer any questions before packing up their equipment and heading out.
Schedule yearly checkups to keep your equipment operating at top efficiency for many years beyond the initial installation date. Changing filters regularly stops allergens from spreading while keeping air moving freely through your whole system without any restrictions.
Switching to heat pump technology not only requires proper preparation to help your heating system perform well from day one, but also proper care after the installation.