Can’t find a furnace filter that fits your HVAC system? Non-standard dimensions are more common than you’d think. Learn how to measure your filter correctly and discover when custom sizing is the right solution.
You slide the new furnace filter into place and it's just slightly too small, leaving a gap on one side. You try forcing it, angling it, even considering duct tape—sound familiar?
Here's the thing: your HVAC system might not be weird, since the filter industry just standardized around common sizes, and if your unit was built before those standards took hold or was designed for a specific application, you're stuck hunting for something that doesn't exist on store shelves.
Air takes the path of least resistance, so when your filter doesn't fit snugly, air flows around it instead of through it. That gap you're ignoring is letting dust, pollen, and pet dander bypass your filtration system entirely, which means your HVAC works harder, your indoor air quality drops, and you're still changing filters on schedule while breathing contaminated air.
Most people assume their measurements are wrong, not the available options, so they buy the "closest size" and live with the gap. Some stuff paper towels in the space while others order multiple sizes hoping one will work, but none of these are solutions.
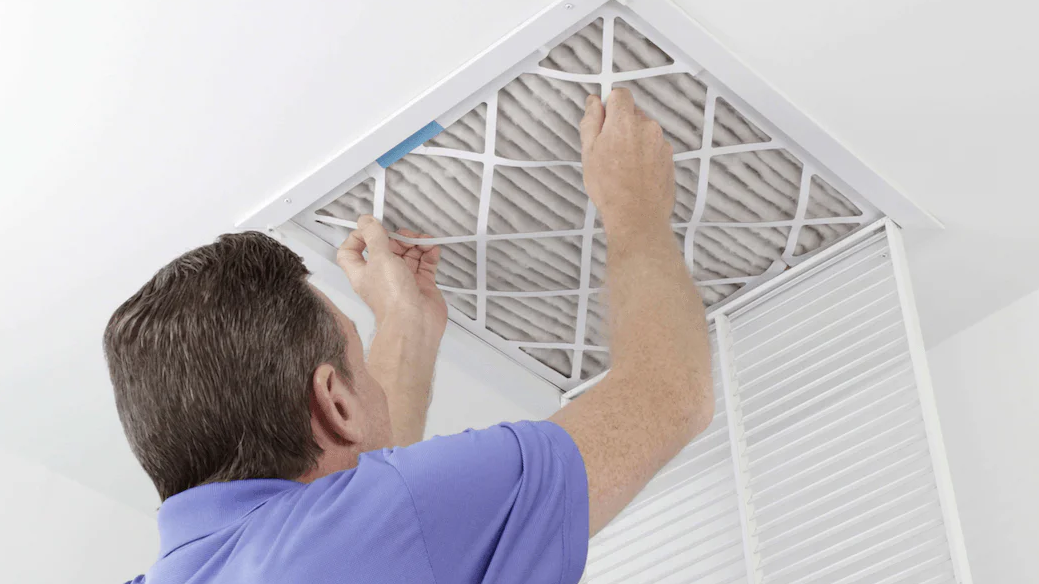
Measuring seems simple until you realize there are three dimensions and several ways to get each one wrong. United Filter Company shares the steps for measuring the filter correctly.
Pull out your existing filter and look for printed dimensions on the cardboard frame, where you'll usually see something like "16x25x1" or "20x20x4." These numbers represent length, width, and depth in inches, so write them down, but don't trust them completely since printed sizes are sometimes nominal (rounded) rather than actual measurements.
You need a standard tape measure that shows inches and fractions down to 1/8 inch, because your phone's measuring app won't cut it here. You're looking for precision, not estimates.
Place the filter flat and measure the longest side from edge to edge, making sure not to measure the cardboard frame but the actual filter material. If you get 15 and 7/8 inches, write that down and don't round up to 16 yet.
Rotate 90 degrees and measure the shorter side the same way, recording the exact measurement including fractions. Your width might be 24 and 3/4 inches, not an even 25.
This is the thickness of the filter when you look at it from the side, and common depths are 1, 2, 4, and 5 inches, though custom applications might need different depths. Measure from one flat side to the other, compressing the filter slightly if it has flexible pleats.
If you don't have an old filter to measure, you'll need to measure the filter slot in your HVAC system by checking the opening width, height, and depth from inside the metal frame. These measurements tell you the maximum filter size that will fit, and your actual filter should be about 1/4 inch smaller in length and width to slide in easily, but no more than that.
Maybe you measured 19.5 x 22.75 x 1 inches—good luck finding that at the hardware store. Standard sizes exist because manufacturers produce millions of identical units, but custom homes, older buildings, and specialized HVAC systems often need non-standard dimensions.
You have three options:
Option one: Buy the next size down and accept the gaps, which is what most people do. It's cheap and easy, but you're paying for a filter that only works at partial capacity.
Option two: Buy the next size up and try to compress it into the slot, which damages the filter pleats, restricts airflow, and can cause your system to shut down from pressure issues.
Option three: Order a custom-sized filter made to your exact measurements, which costs slightly more but solves the problem completely.
MERV stands for Minimum Efficiency Reporting Value, and it's a scale from 1 to 16 that measures how well a filter captures particles. Higher numbers trap smaller particles but also restrict airflow more.
Don't assume higher is always better, because an oversized MERV rating forces your system to work harder, increases energy bills, and can cause the blower motor to fail early. Match the MERV rating to your actual needs, not theoretical maximum protection.
Custom filters cost more than standard sizes, but not dramatically more, since you're paying for individual manufacturing instead of mass production. A standard 16x25x1 MERV 11 filter might cost $8-12, while the same filter in a custom size like 16.125 x 24.875 x 1 runs $12-18.
That extra cost buys you proper filtration, because a correctly sized filter lasts its full service life—usually 90 days—and actually filters the air instead of letting half of it bypass. Compare that to buying the wrong size every few months and dealing with poor air quality.
Some homeowners order in bulk, and if you need a 19.5 x 22.75 filter and you'll need replacements every three months, ordering a six-pack or twelve-pack reduces the per-unit cost and eliminates repeat shipping fees.
Start by measuring your current filter or filter slot using the steps above, writing down all three measurements with fractions and double-checking your work. Then decide on your MERV rating based on your household's needs—pets, allergies, air quality concerns, or just basic filtration.
Find a manufacturer that offers custom sizing, since most have online tools where you input your exact dimensions. They'll confirm the measurements, manufacture the filter, and ship it to your address, and when it arrives, slide it into your HVAC system and check the fit. It should slip in easily with no gaps and no forcing.
Mark your calendar for 90 days out and order a replacement before you need it, because custom filters take a few extra days to manufacture, so planning ahead prevents running your system without a filter while you wait for shipping.
Air flows around the filter instead of through it, bypassing the filtration media entirely and allowing dust, pollen, and other particles to enter your HVAC system and circulate through your home. The filter still gets dirty, which tricks you into thinking it's working, but it's only capturing a fraction of what it should, so your ducts accumulate debris faster and your indoor air quality suffers.
You could, but you shouldn't, because cutting a filter damages the pleated media and exposes the interior materials, which can shed fibers into your airflow. The cardboard or metal frame provides structural support, and without an intact frame, the filter collapses under air pressure. You also can't seal the cut edges properly, which creates gaps that allow air bypass—it's a false economy that ruins a perfectly good filter.
Replace them on the same schedule as standard filters—typically every 90 days for 1-inch filters, every 6-12 months for 4-inch or 5-inch filters, depending on your MERV rating, how many people live in your home, whether you have pets, and how dusty your environment is. Check the filter monthly, and if it looks dark and clogged before the 90-day mark, replace it early, since a dirty filter restricts airflow and forces your HVAC to work harder.
Specialized filter manufacturers offer online ordering tools where you input your exact measurements and select your preferred MERV rating, and these companies build filters to precise specifications and ship them directly to your home, solving the problem of non-standard dimensions that hardware stores don't stock.