Trailer lights always fail at the worst possible moment, but most electrical problems stem from one overlooked issue that you can fix without cutting a single wire – and it’s probably not what you think.
Trailer light problems strike at the worst possible moments, usually when you're hooking up for that long-awaited camping trip or hauling equipment for an important job. The good news is that most electrical issues stem from a handful of common causes that can be resolved without cutting a single wire or making permanent modifications to your trailer's wiring system.
A poor ground connection stands as the primary culprit behind trailer light malfunctions. This single point of failure creates a cascade of problems, including flickering lights, dim illumination, or complete electrical failure across all circuits. The ground wire, typically white in most wiring harnesses, must maintain solid contact with clean, unpainted metal on the trailer frame.
When ground connections deteriorate, electrical current struggles to complete its circuit back to the vehicle's battery. This resistance generates heat, causes voltage drops, and creates the intermittent behavior that frustrates trailer owners.
Rust, paint, and road grime act as insulators that block proper electrical flow. Simply removing these contaminants from the ground connection point often restores full functionality to an entire lighting system. Use a wire brush or sandpaper to create a bright, clean metal surface where the ground wire attaches to the trailer frame.
Before diving into trailer wiring diagnostics, checking the tow vehicle's fuse box saves countless hours of unnecessary troubleshooting. Blown fuses account for a significant percentage of "trailer light failures" that actually originate in the towing vehicle's electrical system. Locate the trailer light fuse in your vehicle's fuse panel - it's often labeled as "trailer," "tow," or integrated with the turn signal circuit.
Carry spare fuses in the correct amperage for your trailer circuit. Fuses can blow multiple times during a single trip, especially if an underlying short circuit exists. Replace any blown fuses and test the lights immediately. If the new fuse blows again quickly, stop using the trailer until the short circuit is located and repaired to prevent damage to your vehicle's electrical system.
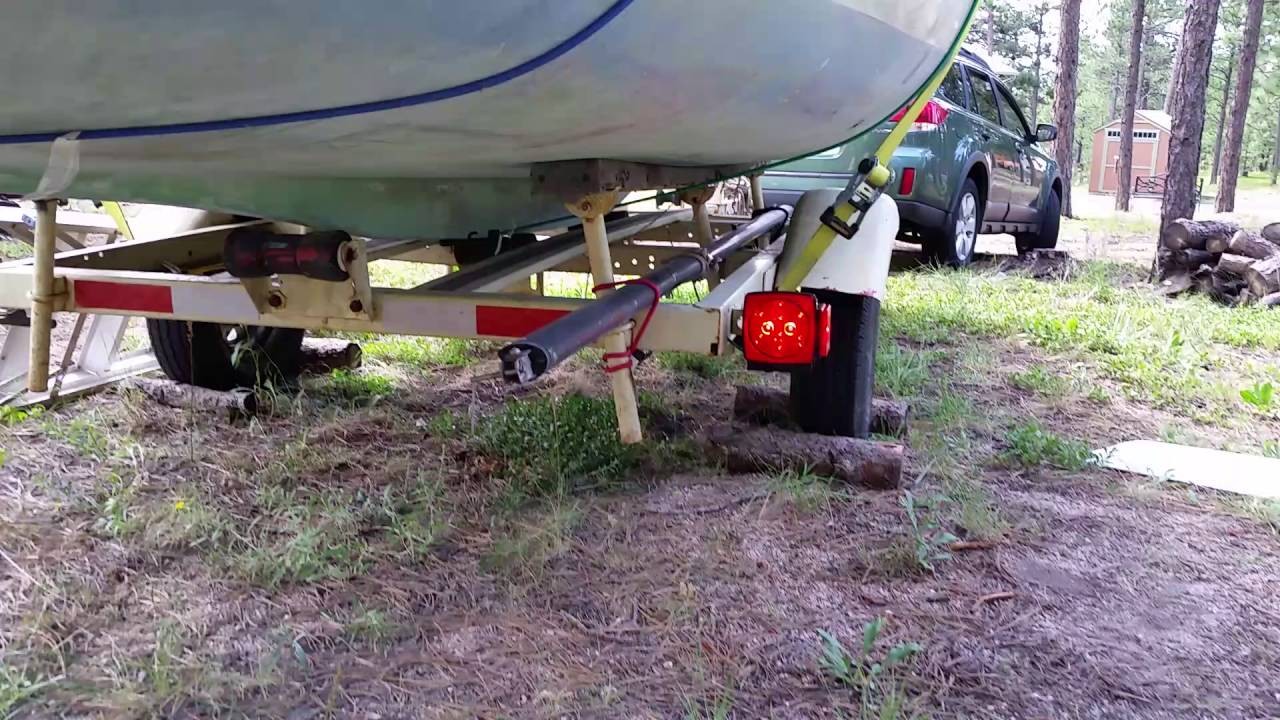
The trailer connector endures harsh conditions including road spray, salt, mud, and temperature extremes. These elements cause corrosion and contamination that interrupt electrical flow between the trailer and towing vehicle. Remove the connector cover and visually inspect each pin for damage, corrosion, or bent contacts.
Clean connector pins using a wire brush and electrical contact cleaner spray. Pay special attention to the split-pin design that creates spring tension for good electrical contact. Gently spread these pin sections slightly to ensure they make firm contact with the vehicle's socket, but avoid over-spreading which can cause the pins to break.
A digital multimeter provides definitive answers about wire integrity and electrical flow. Set the multimeter to the ohms (resistance) setting to test continuity through individual wires. Connect one probe to the wire at the connector and the other to the corresponding terminal at the light fixture.
A reading of zero ohms indicates a direct short to ground, while an infinite reading suggests a broken wire. Normal resistance readings vary based on wire length and gauge, but should show low resistance (typically under 5 ohms) for functional circuits. This testing method identifies problems without cutting into wires or making invasive modifications to the wiring harness.
Insulation Displacement Connectors (IDCs) revolutionize trailer wire repairs by eliminating the need to strip wire insulation or make permanent splices. These specialized connectors feature sharp blades that pierce through wire insulation to make electrical contact with the conductor inside. The process creates a waterproof seal while maintaining the wire's original integrity.
IDCs work particularly well for brake wire connections and areas where moisture intrusion poses a concern. The connectors typically include dielectric grease that prevents corrosion and protects electrical connections over time. Simply position the damaged wire in the connector, squeeze with pliers, and the blade mechanism pierces the insulation to create a reliable connection point.
This repair method proves especially valuable for intermittent connection issues where the wire appears intact externally but has internal damage. IDCs can be removed and repositioned if needed, making them ideal for troubleshooting scenarios where multiple connection points require testing.
Heat-shrink tubing provides superior protection against the elements that cause wire degradation. When properly installed, heat-shrink tubing creates a durable, waterproof seal around wire connections and damaged insulation that outlasts electrical tape. The tubing contracts when heated, forming a tight barrier against moisture, dirt, and physical abrasion.
Combine heat-shrink tubing with moisture-resistant butt connectors for maximum protection in challenging environments. This combination approach addresses both the immediate repair needs and long-term durability concerns. The heat-shrink material also provides strain relief that prevents future damage at connection points.
Apply heat evenly using a heat gun or hair dryer, working from one end to the other to prevent air bubbles. Properly installed heat-shrink tubing often outlasts the original wire insulation and provides superior protection against road hazards that commonly damage trailer wiring.
Intermittent lighting problems that respond to wiggling or adjusting the trailer plug indicate loose connection issues rather than wire damage. The trailer plug must seat fully into the vehicle's socket with the retaining mechanism properly engaged. Many plug designs include a cover or locking mechanism that prevents the connection from working loose during travel.
Test the connection by gently tugging on the plug while observing the lights. If lights flicker or fail during this test, the plug isn't making solid contact with all socket terminals. Clean both the plug and socket thoroughly, then ensure proper insertion depth and engagement of any retention mechanisms.
Sometimes the socket pins lose spring tension over time, creating poor contact even when the plug appears properly connected. Carefully spread the socket pins slightly to restore proper contact pressure, but use caution to avoid breaking the delicate spring mechanisms.
Corrosion creates electrical resistance that generates heat and can permanently damage connector components. White or green buildup around connector pins indicates active corrosion that requires immediate attention. This corrosion increases electrical resistance, causing voltage drops that result in dim lights and potential component failure.
Remove corrosion using electrical contact cleaner and a fine wire brush or sandpaper. Work carefully to avoid damaging the connector pins or housing. After cleaning, apply a thin coat of dielectric grease to prevent future corrosion. This preventive measure significantly extends connector life and maintains reliable electrical contact.
Severe corrosion may require connector replacement, but cleaning often restores full functionality to connectors that appear beyond repair. The key is removing all corrosion products and protecting the clean surfaces from future contamination.
When troubleshooting persistent grounding issues, disconnect the trailer tongue and safety chains from the tow vehicle to eliminate alternative grounding paths. This isolation ensures that electrical current flows only through the intended wiring connections, providing accurate diagnostic information about the trailer's electrical system.
Alternative grounding through the hitch or safety chains can mask wiring problems and create confusing diagnostic scenarios. By isolating the electrical connection, you force current to flow through the proper ground wire, revealing any deficiencies in that circuit.
Perform this test with the trailer lights activated to observe any changes in brightness or functionality. Dimming or flickering when mechanically disconnected indicates reliance on alternative grounding paths that may not be reliable during normal operation.
Dielectric grease serves as a moisture barrier that prevents corrosion in electrical connections while protecting conductivity. This specialized grease doesn't conduct electricity itself, but it displaces moisture and creates a protective environment around connection points. Apply dielectric grease liberally to connector pins, sockets, and any junction points in the wiring harness.
Reapply dielectric grease periodically, especially after exposure to salt water, road salt, or extended storage periods. The grease gradually wears away under normal use and washing, requiring periodic renewal to maintain its protective properties. A small tube of dielectric grease in your trailer maintenance kit enables quick application during routine inspections.
Establish a monthly inspection routine that focuses on high-wear areas where wiring damage commonly occurs. Pay particular attention to areas where wires pass through the trailer frame, around the axle, and near the tongue where flexing and vibration stress the conductors. Look for chafing, cuts, or areas where the wire insulation shows wear.
Document any changes or developing issues during these inspections to track deterioration patterns. Early detection of wire damage allows for preventive repairs that cost far less than emergency roadside fixes. Use zip ties or additional protective conduit in areas where wear patterns develop.
Check connector integrity during each inspection, looking for loose pins, cracked housings, or signs of water intrusion. Address minor issues immediately before they develop into complete system failures that leave you stranded.
LED trailer lights offer superior durability and reliability compared to traditional incandescent bulbs. LEDs resist vibration damage, consume less power, and generate less heat that can damage wiring connections. The lower current draw reduces stress on all electrical connections and extends the life of fuses and wiring components.
LED lights also provide brighter, more consistent illumination that improves safety during towing operations. The instant-on characteristic eliminates the warm-up time associated with incandescent bulbs, providing immediate full brightness when brake or turn signals activate.
Modern LED assemblies include built-in protection against voltage spikes and electrical interference that can damage sensitive components. This protection extends to the entire electrical system, reducing the likelihood of failures that require roadside repairs.
Mobile trailer repair services provide specialized electrical diagnostics and repairs at your location, eliminating the need to transport a non-functional trailer to a repair facility. These services offer extended hours and address emergencies that could otherwise derail travel plans or work schedules.
Professional technicians bring specialized diagnostic equipment and replacement parts that enable complete repairs in a single visit. Their experience with various trailer electrical systems allows for quick identification of complex problems that might take amateur mechanics hours to diagnose.
The convenience of mobile service often proves cost-effective when compared to the time and expense of alternative transportation arrangements. Emergency repairs during travel can resume your journey quickly without lengthy detours to unfamiliar repair facilities.