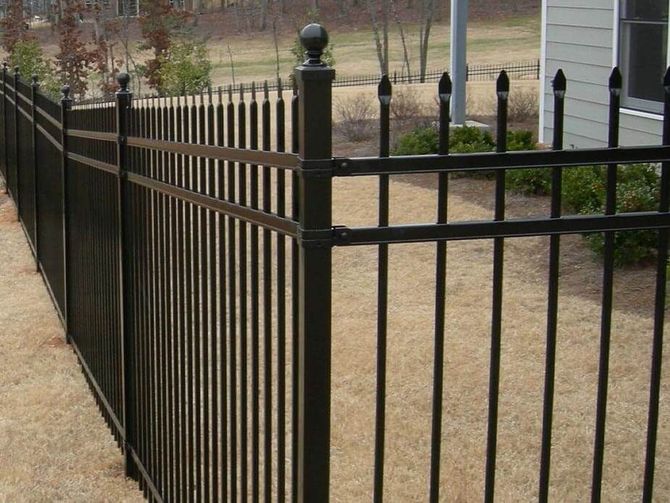
Thinking of installing your own aluminum fence? Before you grab the post hole digger, here’s what you need to know—including tools, setup steps, common pitfalls, and when expert help might be worth it.

Aluminum fencing has become a go-to for homeowners seeking a durable, low-maintenance alternative to wood and wrought iron. More people are trying to save time and money by installing it themselves, and yes—it can be a doable weekend project. But it's not without risks.
If you're considering going the DIY route, you'll want to be fully prepared: with the right tools, accurate measurements, and realistic expectations. Here's what separates a smooth installation from a frustrating redo.
Unlike wood, aluminum doesn't rot, warp, or splinter. And compared to steel, it's lighter, more affordable, and resists corrosion better—especially in coastal or humid regions.
In fact, aluminum fencing made from 6005-T5 alloy is engineered for high strength and long-term weather resistance. A Michigan State Highway Department report dating back to 1962 even found aluminum more corrosion-resistant than steel over time, making the higher initial cost worth it in the long run.
Powder-coated finishes also protect against UV damage, fading, and rust, meaning your fence stays looking sharp with almost no upkeep. Bonus? Aluminum is recyclable, non-toxic, and manufactured using less energy than most alternatives.
Use stakes and string lines to mark fence lines, spacing posts 72.5 inches center-to-center for standard panels. Measure gate openings carefully and check for underground utilities before digging.
Use a post-hole digger or auger to dig holes 4–6 inches wide and 24–42 inches deep (depending on frost line). Keep holes aligned for a straight layout.
Place posts plumb and level, then fill holes with concrete—leaving 2 inches unfilled at the top for compacted soil. Use temporary blocks to maintain height. Cure time: 24-48 hours.
Slide panels into routed post holes and secure with self-tapping screws. Use the first panel as a guide for spacing the rest. Trim panels if needed for slopes or tight spaces.
Follow the manufacturer's instructions to mount gates securely. Add post caps or decorative elements, then do a final check for level and alignment before the concrete fully sets.
Aluminum fencing can be DIYed—but it's not for everyone. Uneven terrain, complex layouts, or HOA restrictions can quickly turn a weekend project into a weeks-long headache.
That's where professionals come in. They have the tools, permits, and experience to:
Companies like Florida's Ocala Fence Company help homeowners manage local terrain and regulations while offering long-lasting aluminum fence options built to handle humidity, salt air, and harsh weather.
Aluminum fencing offers long-term value, sleek aesthetics, and near-zero maintenance—but a good install is everything. If you've got the skills and tools, DIY is possible. But if you want peace of mind, faster results, and expert support, consider reaching out to local fencing professionals.
Need a second opinion before you commit? Consulting with experienced installers can help you avoid surprises and get the look you're going for—with less stress and better results.
